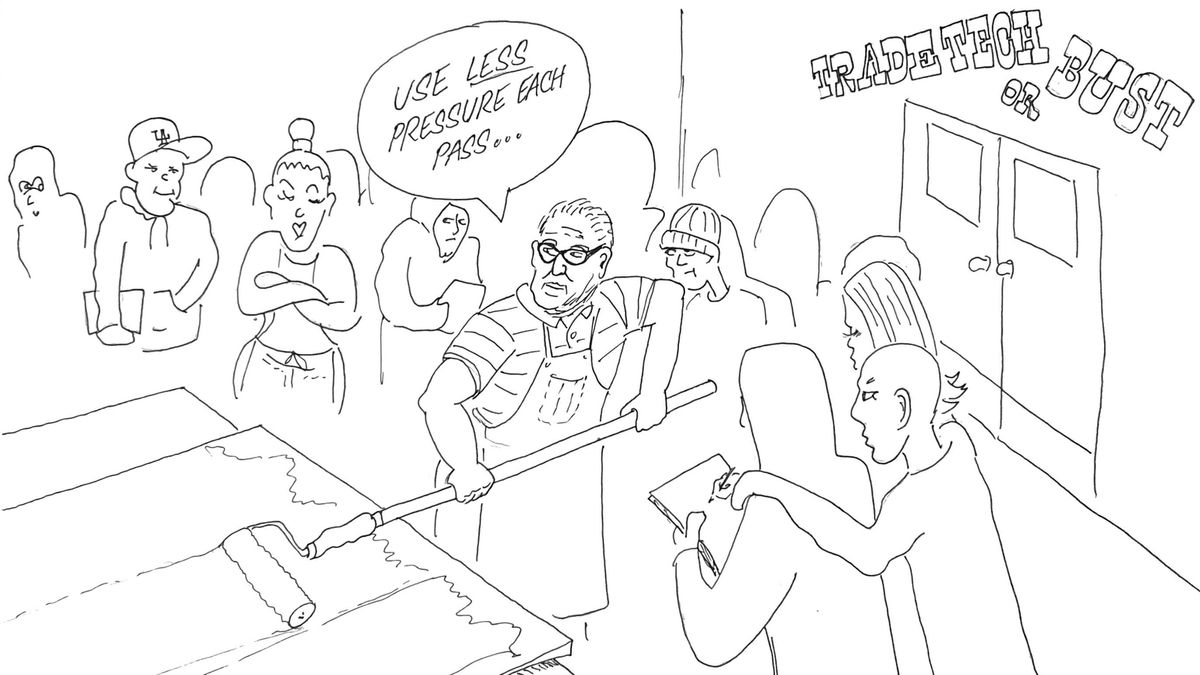
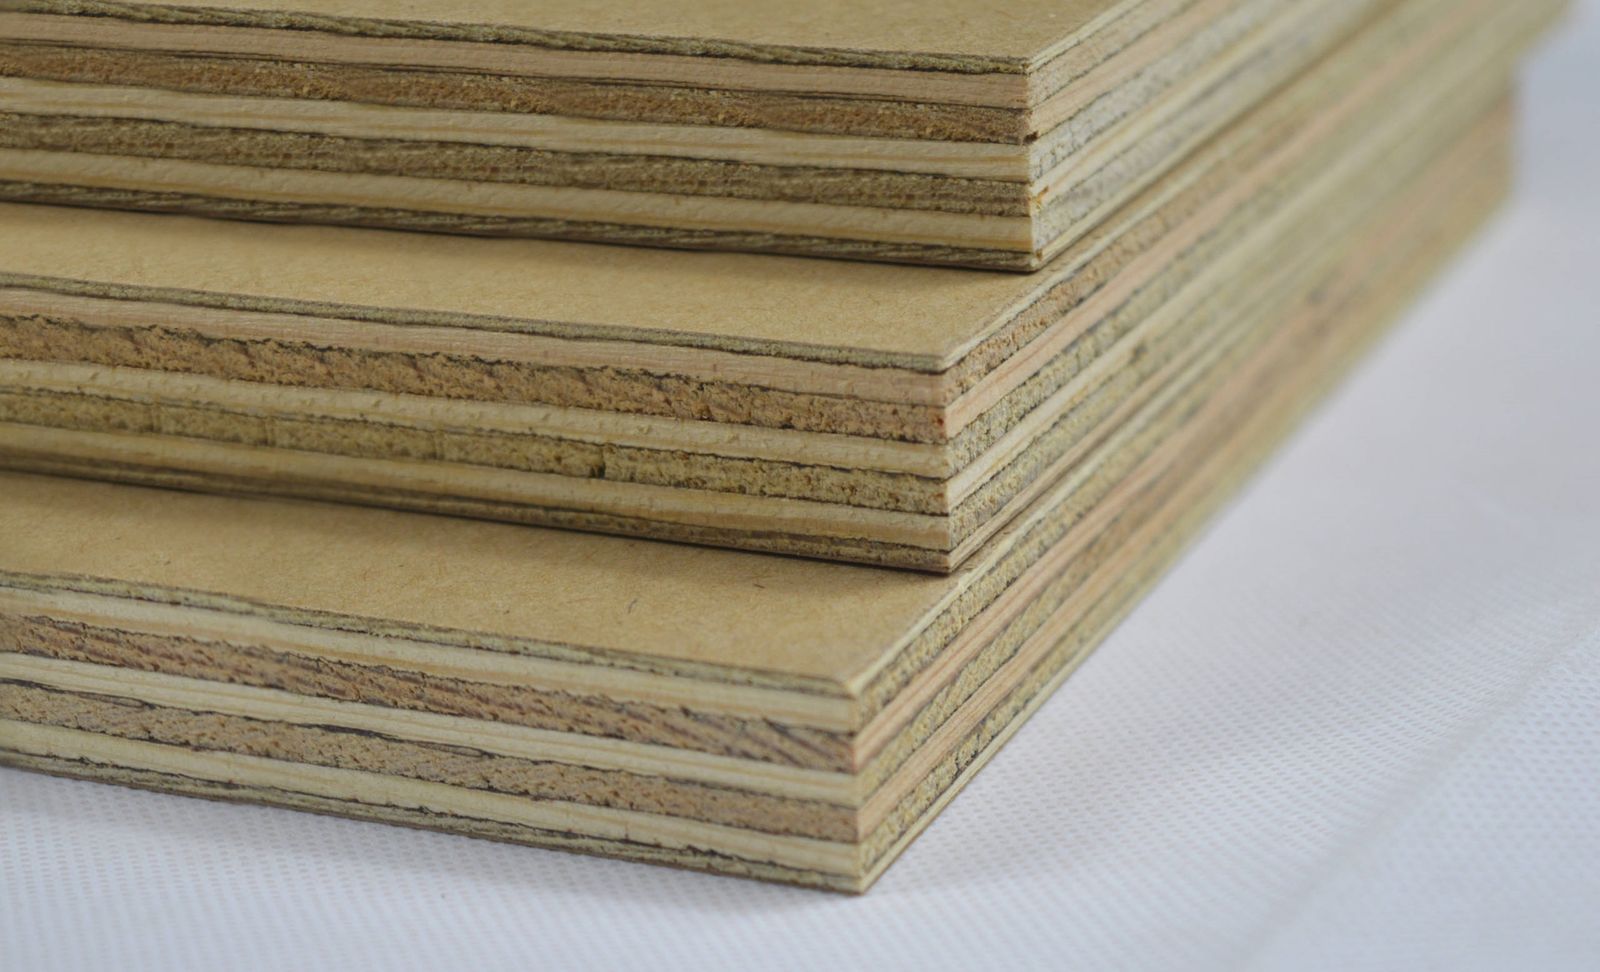
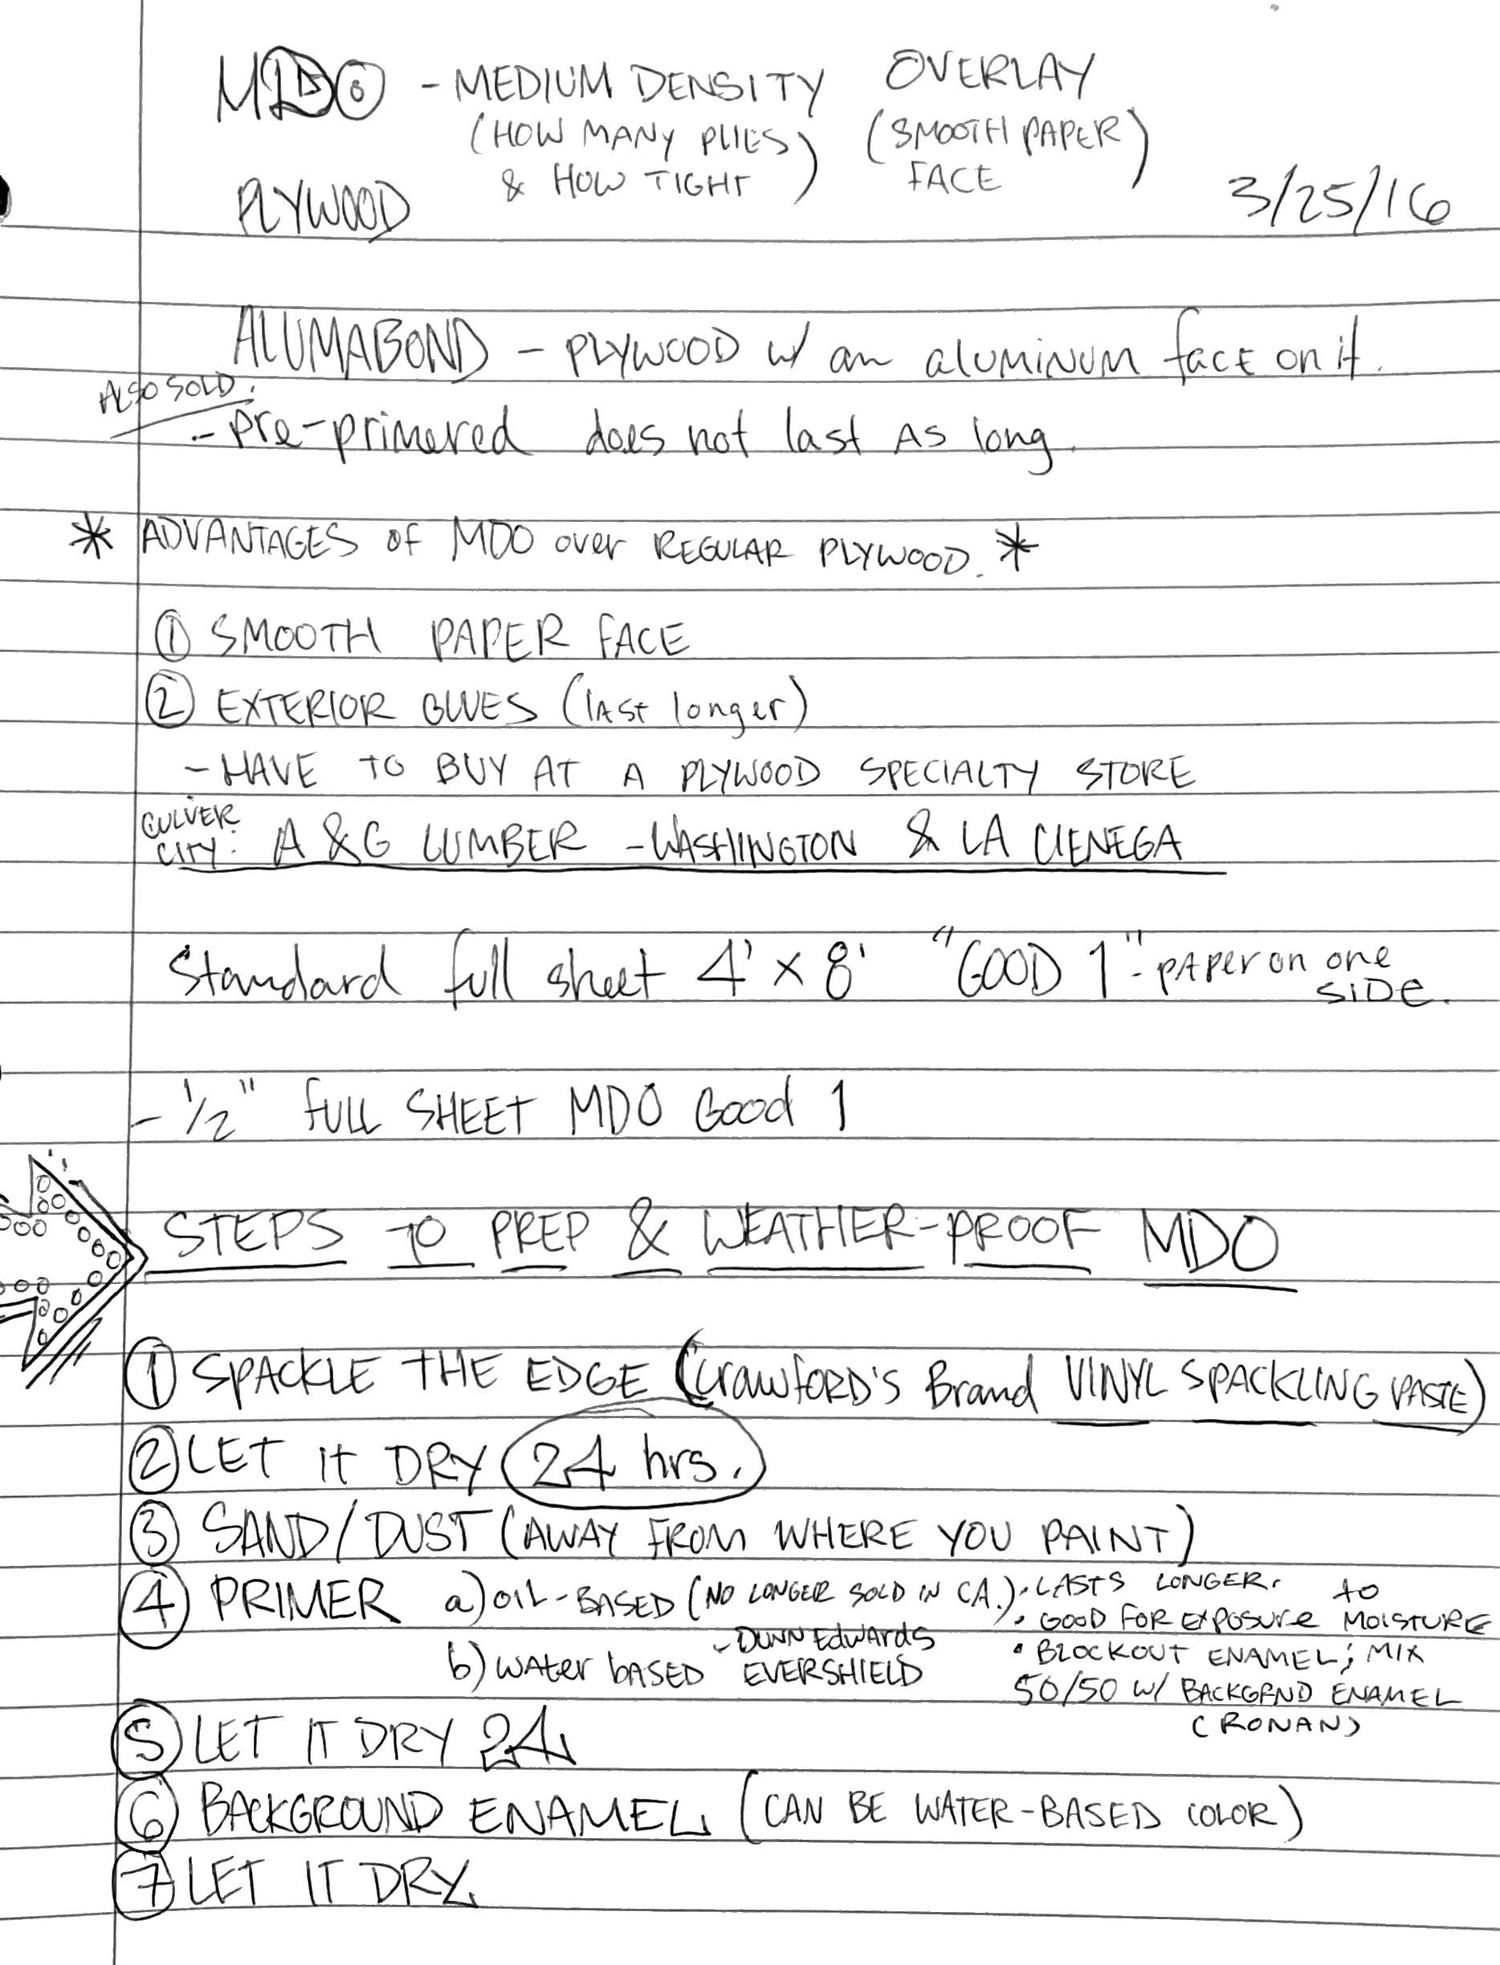
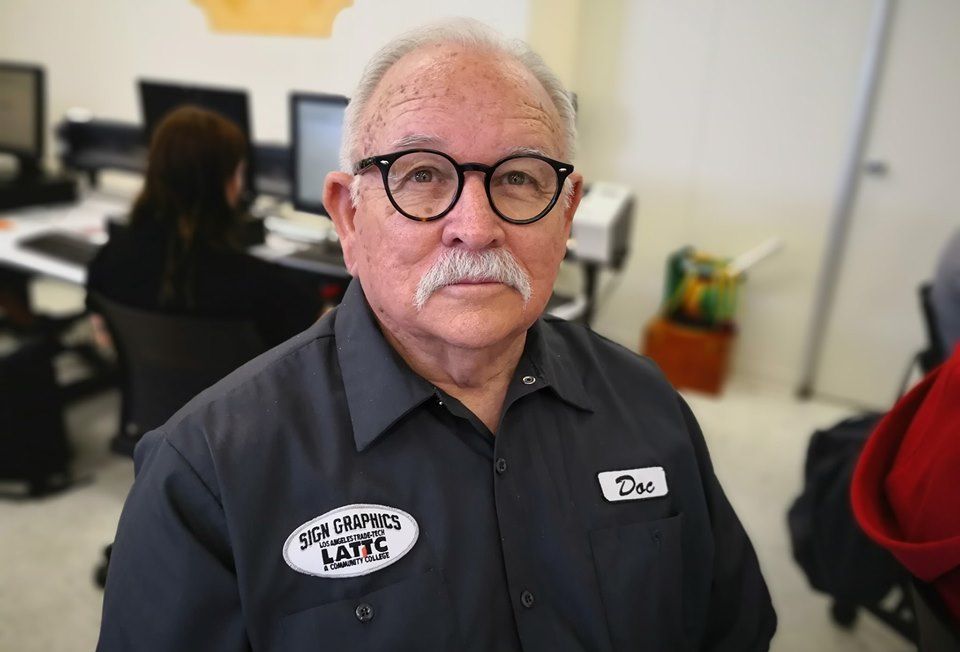
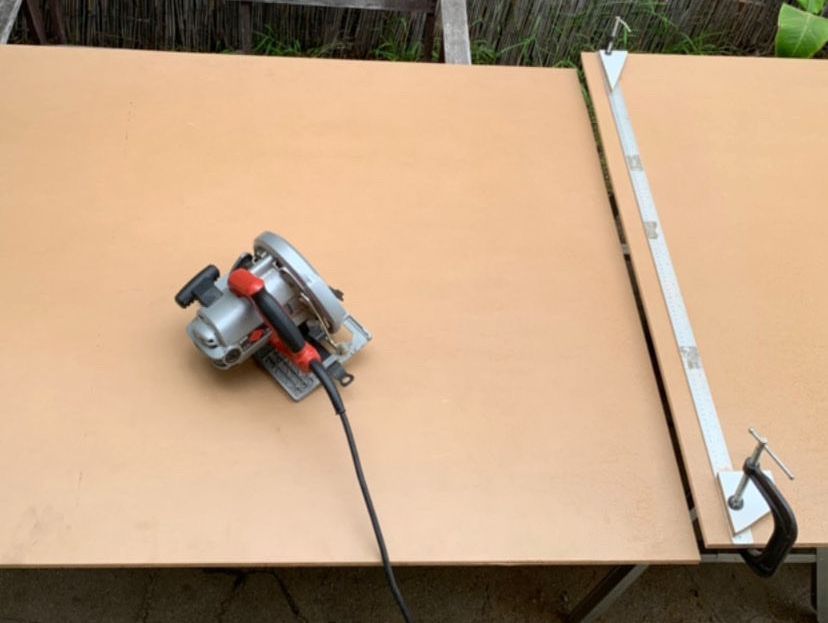
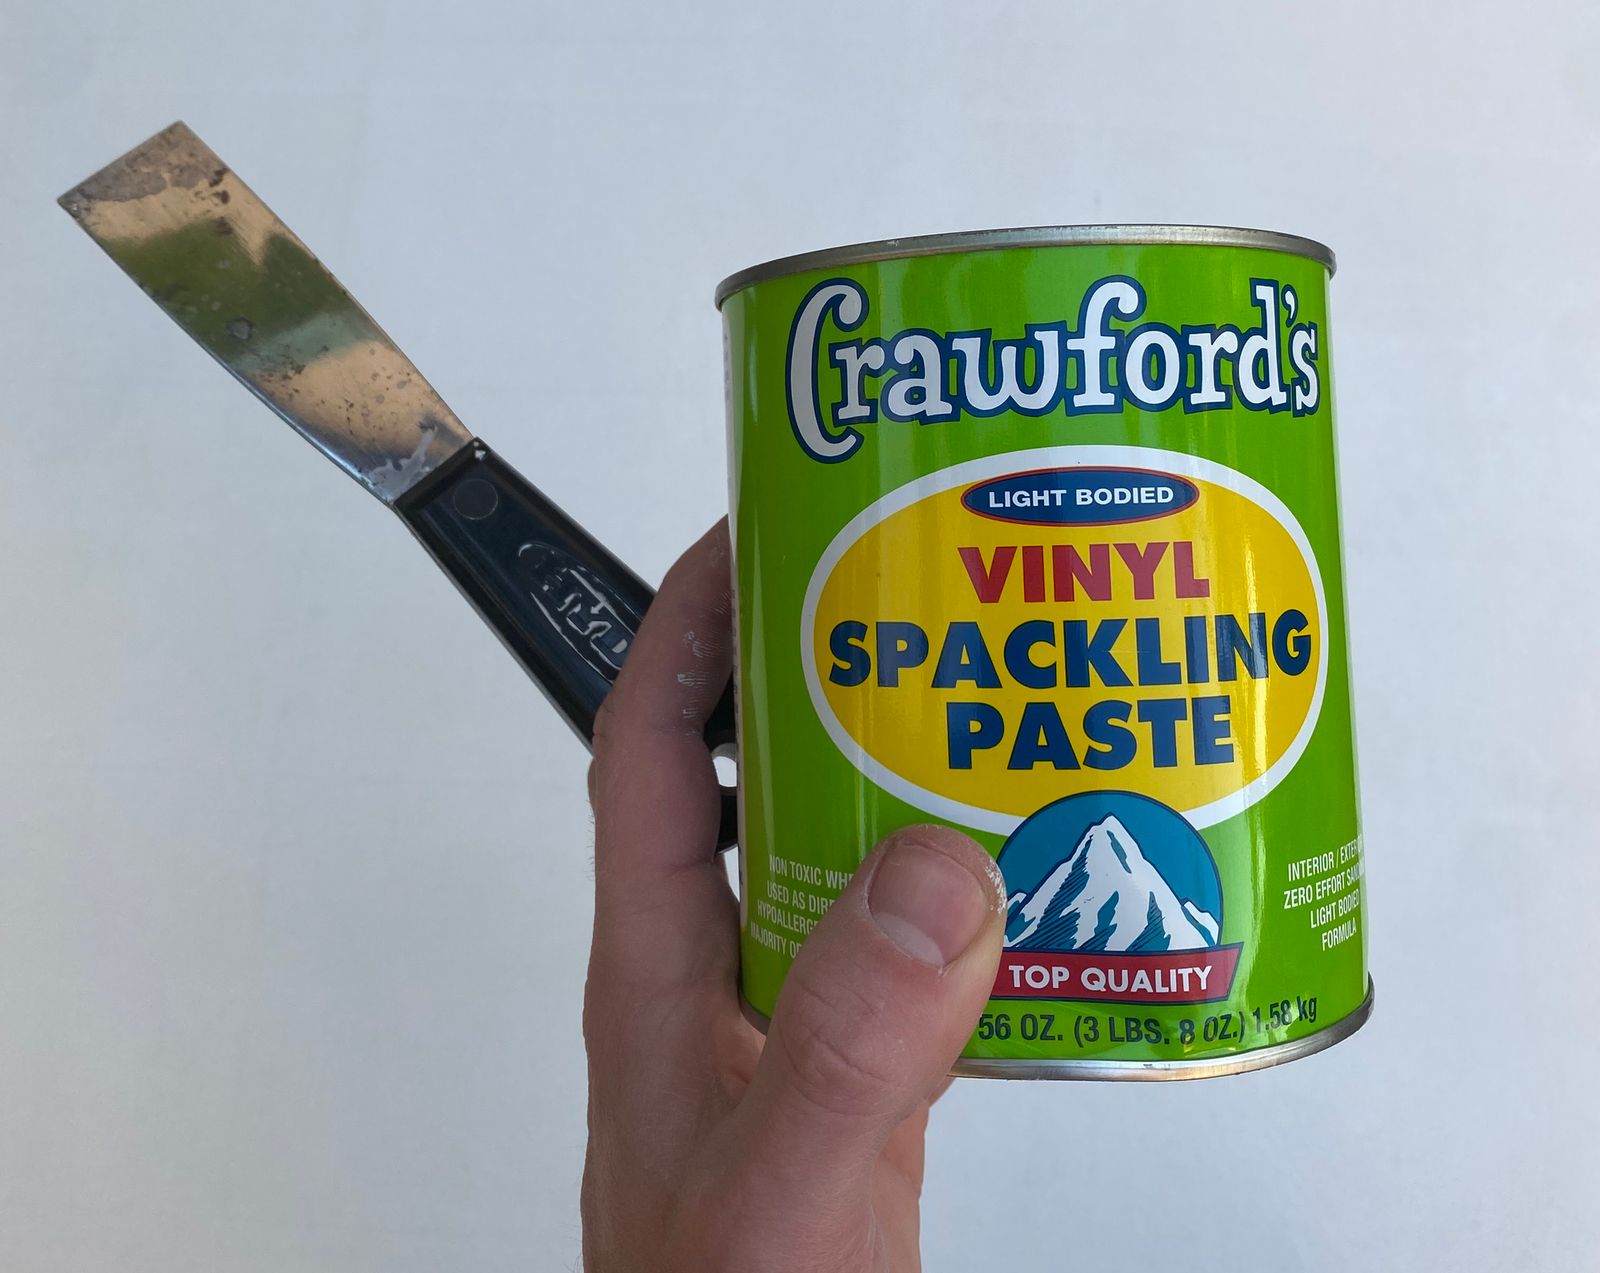
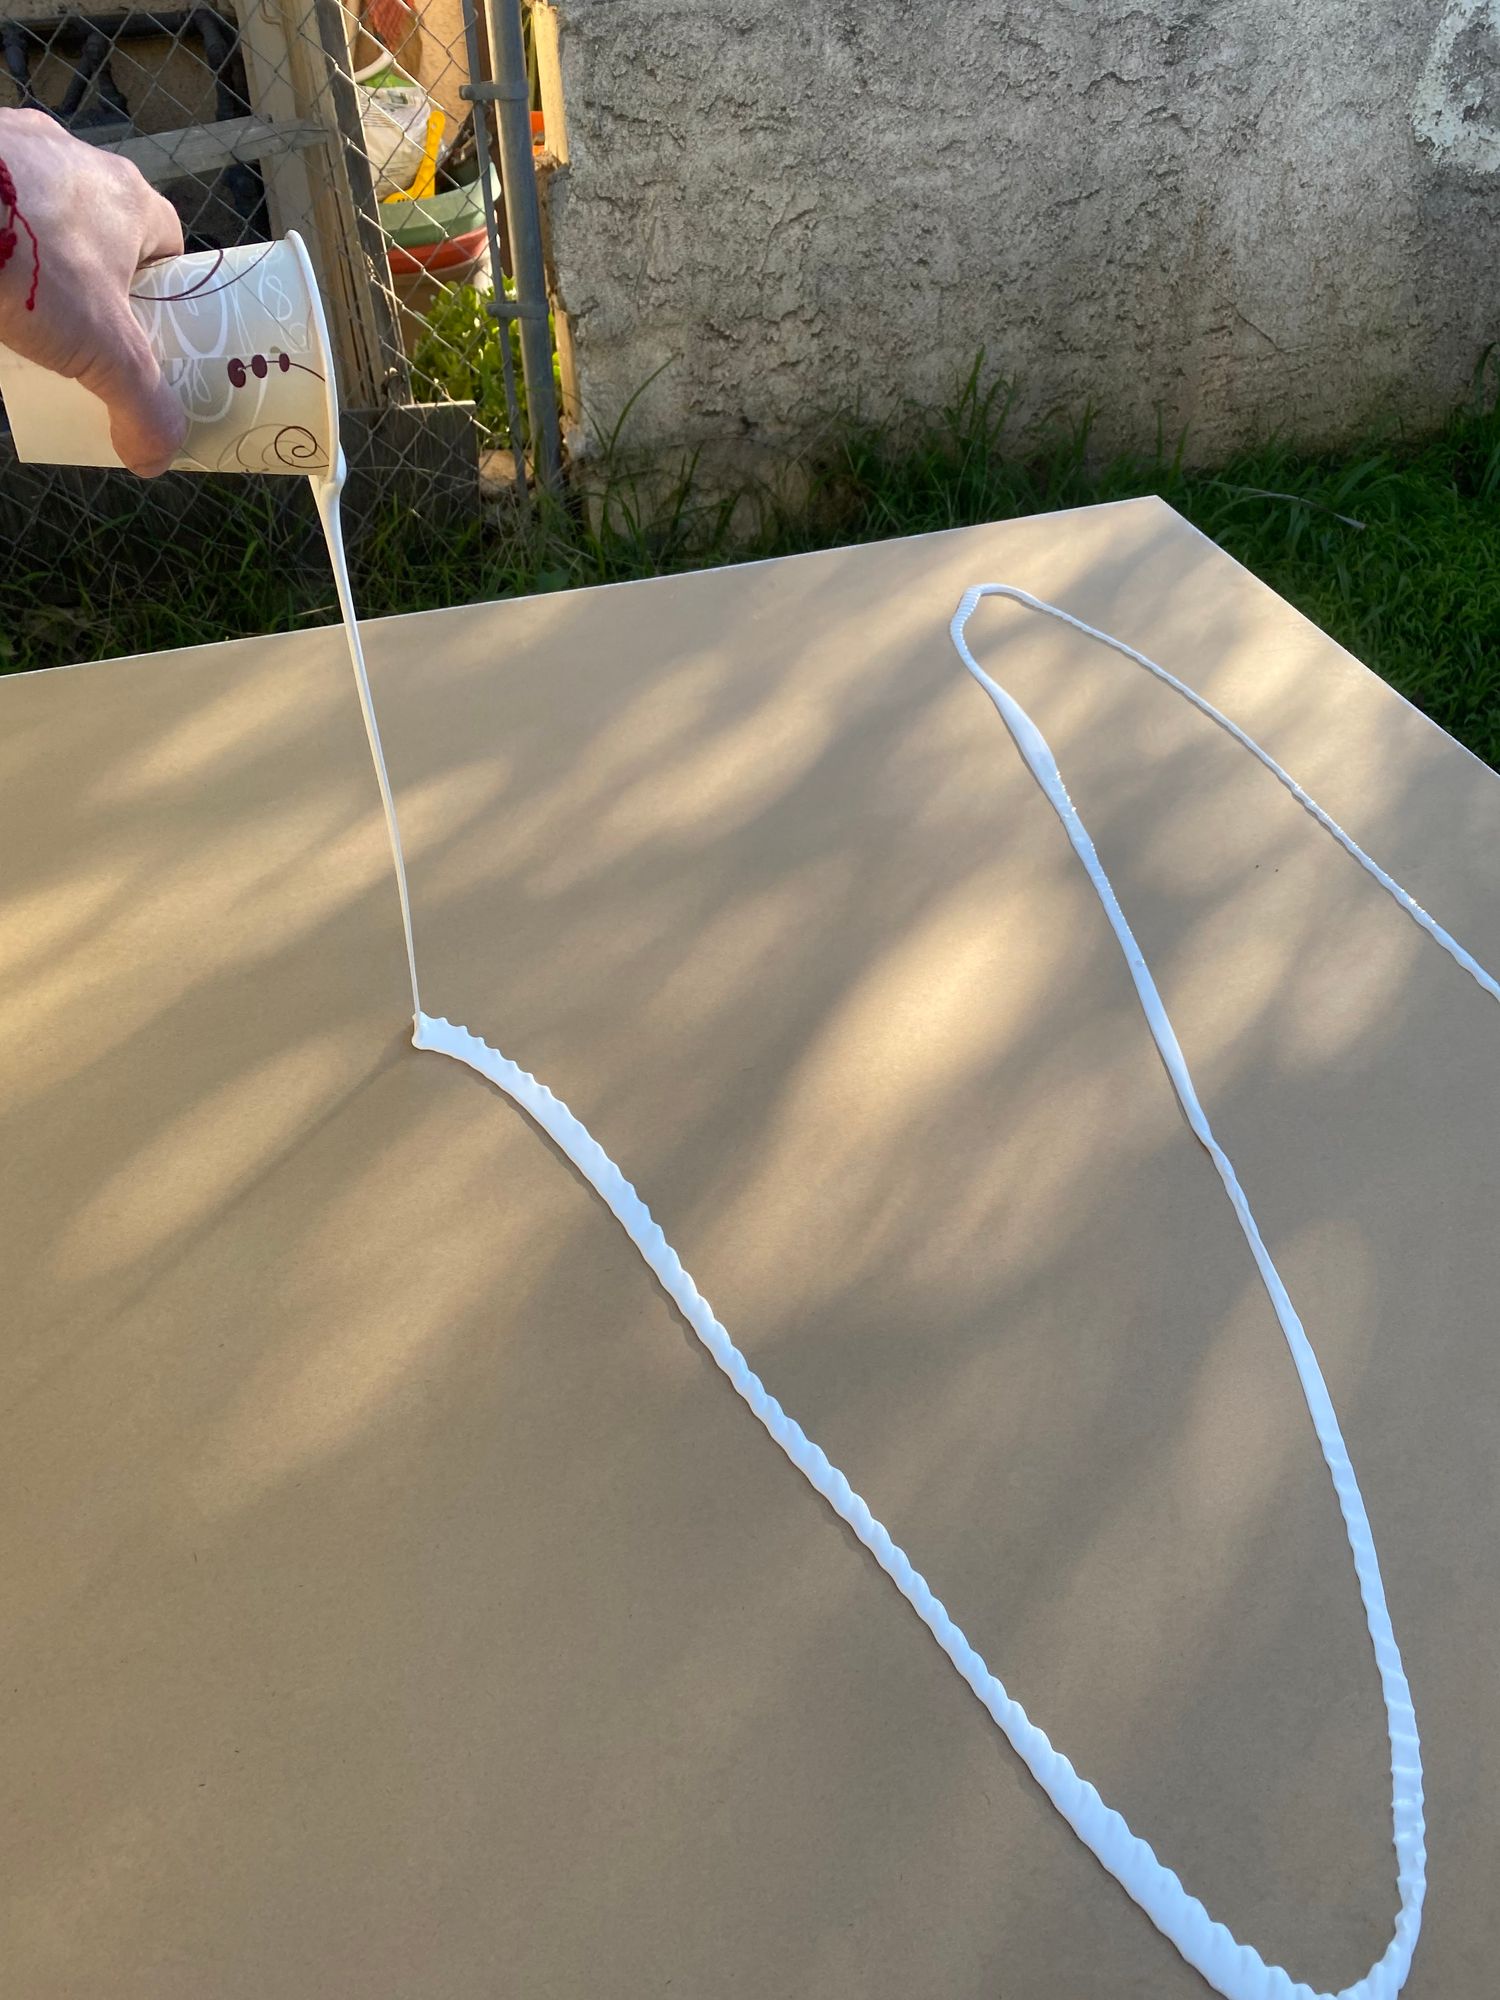
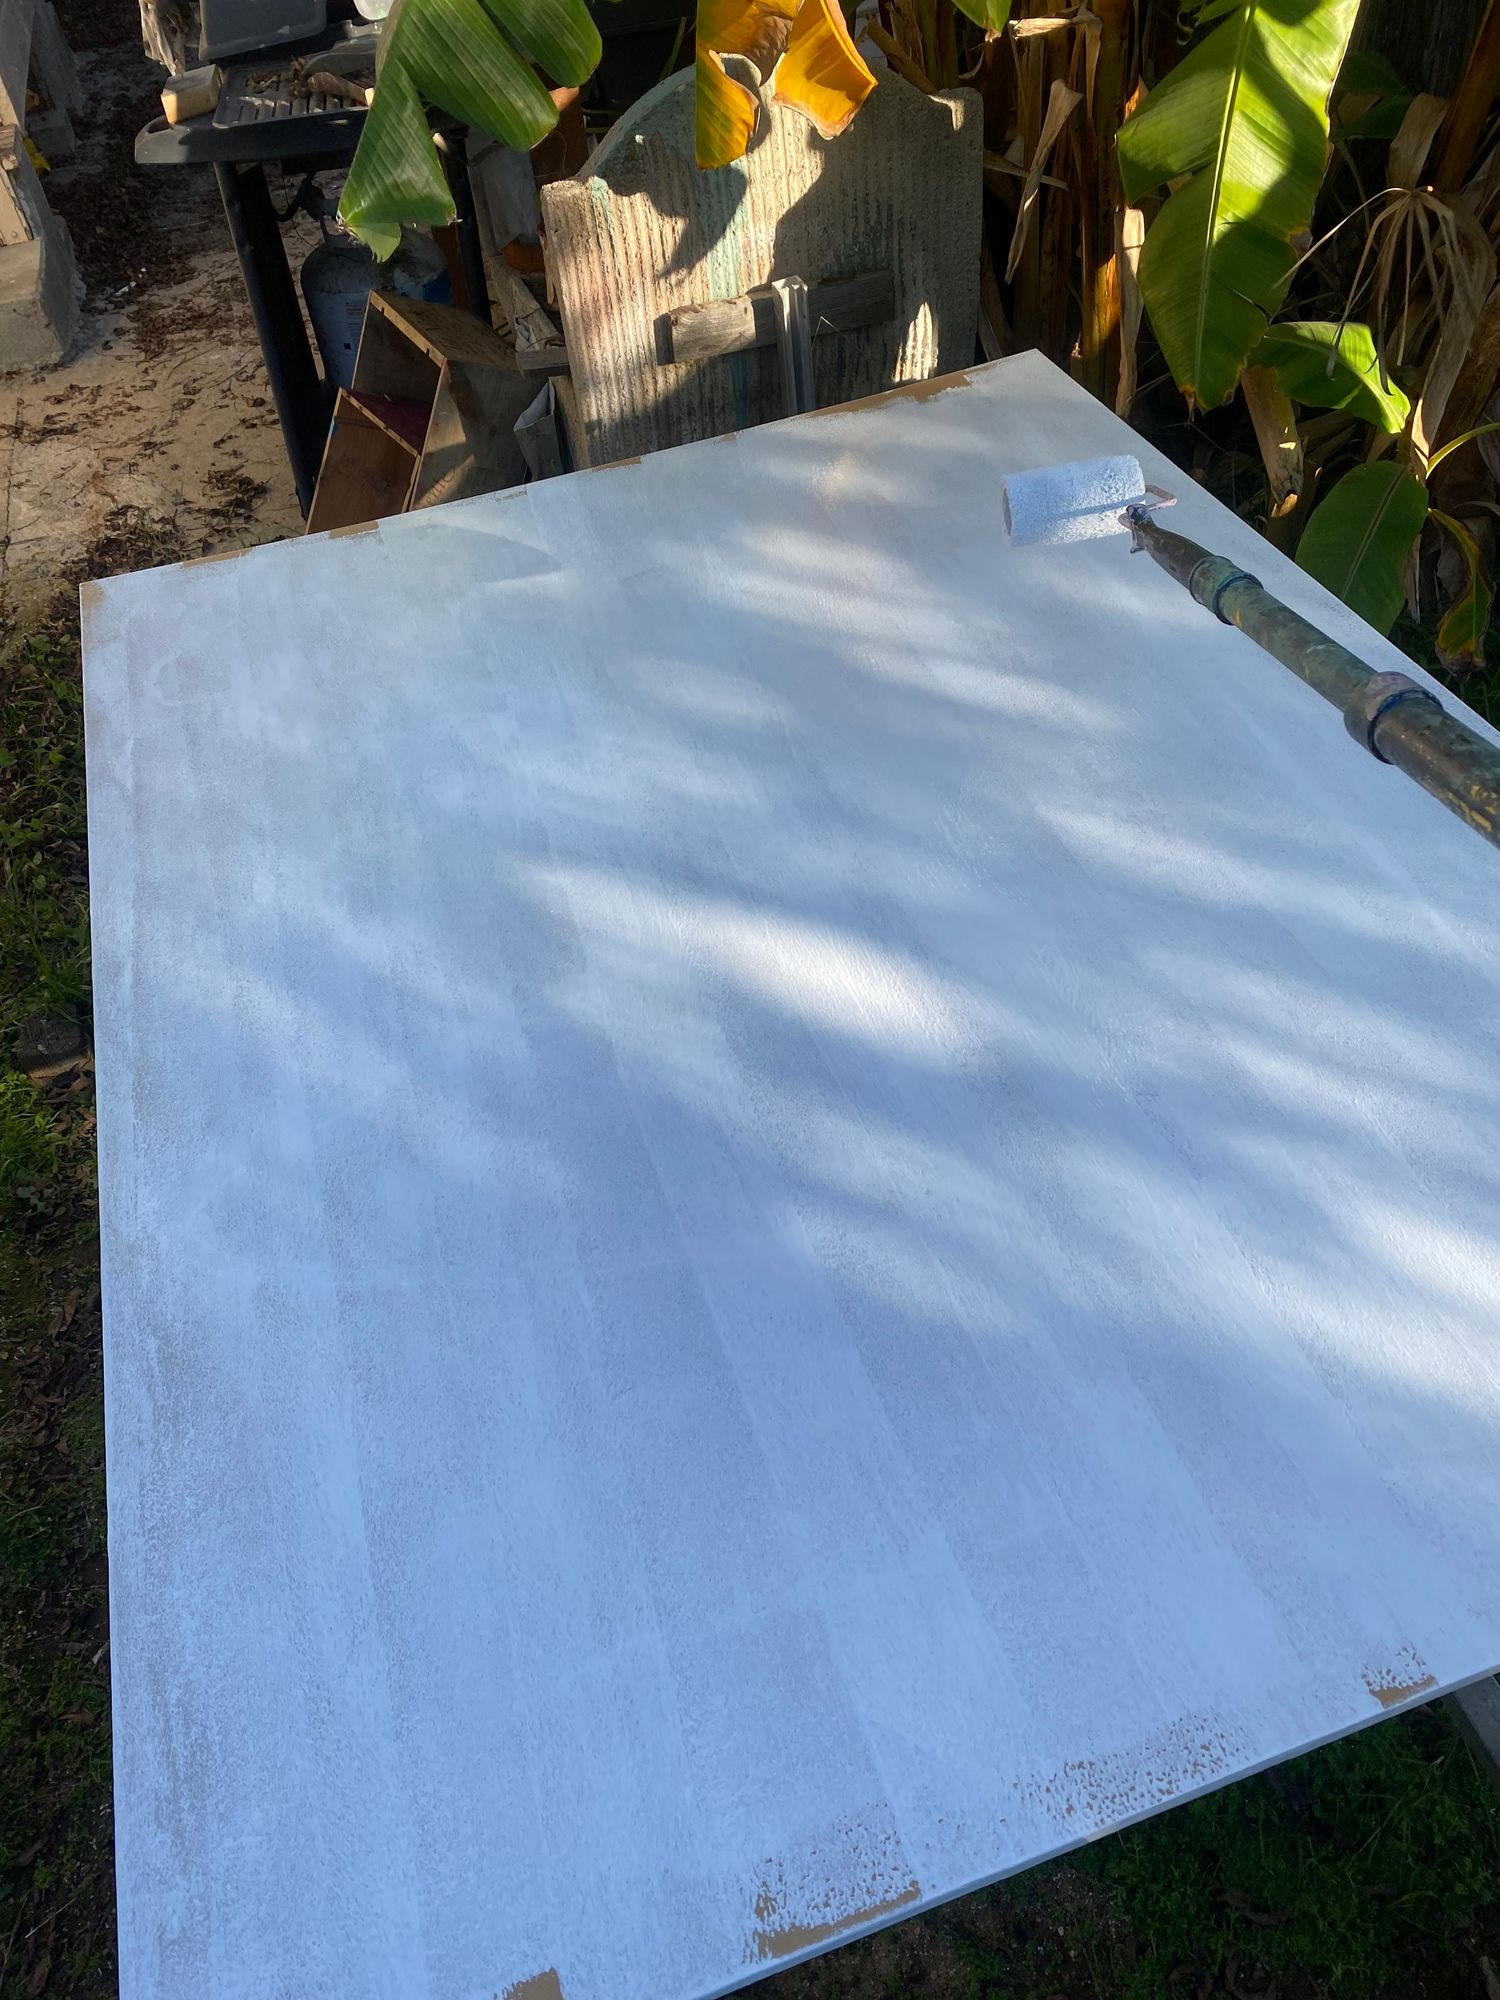
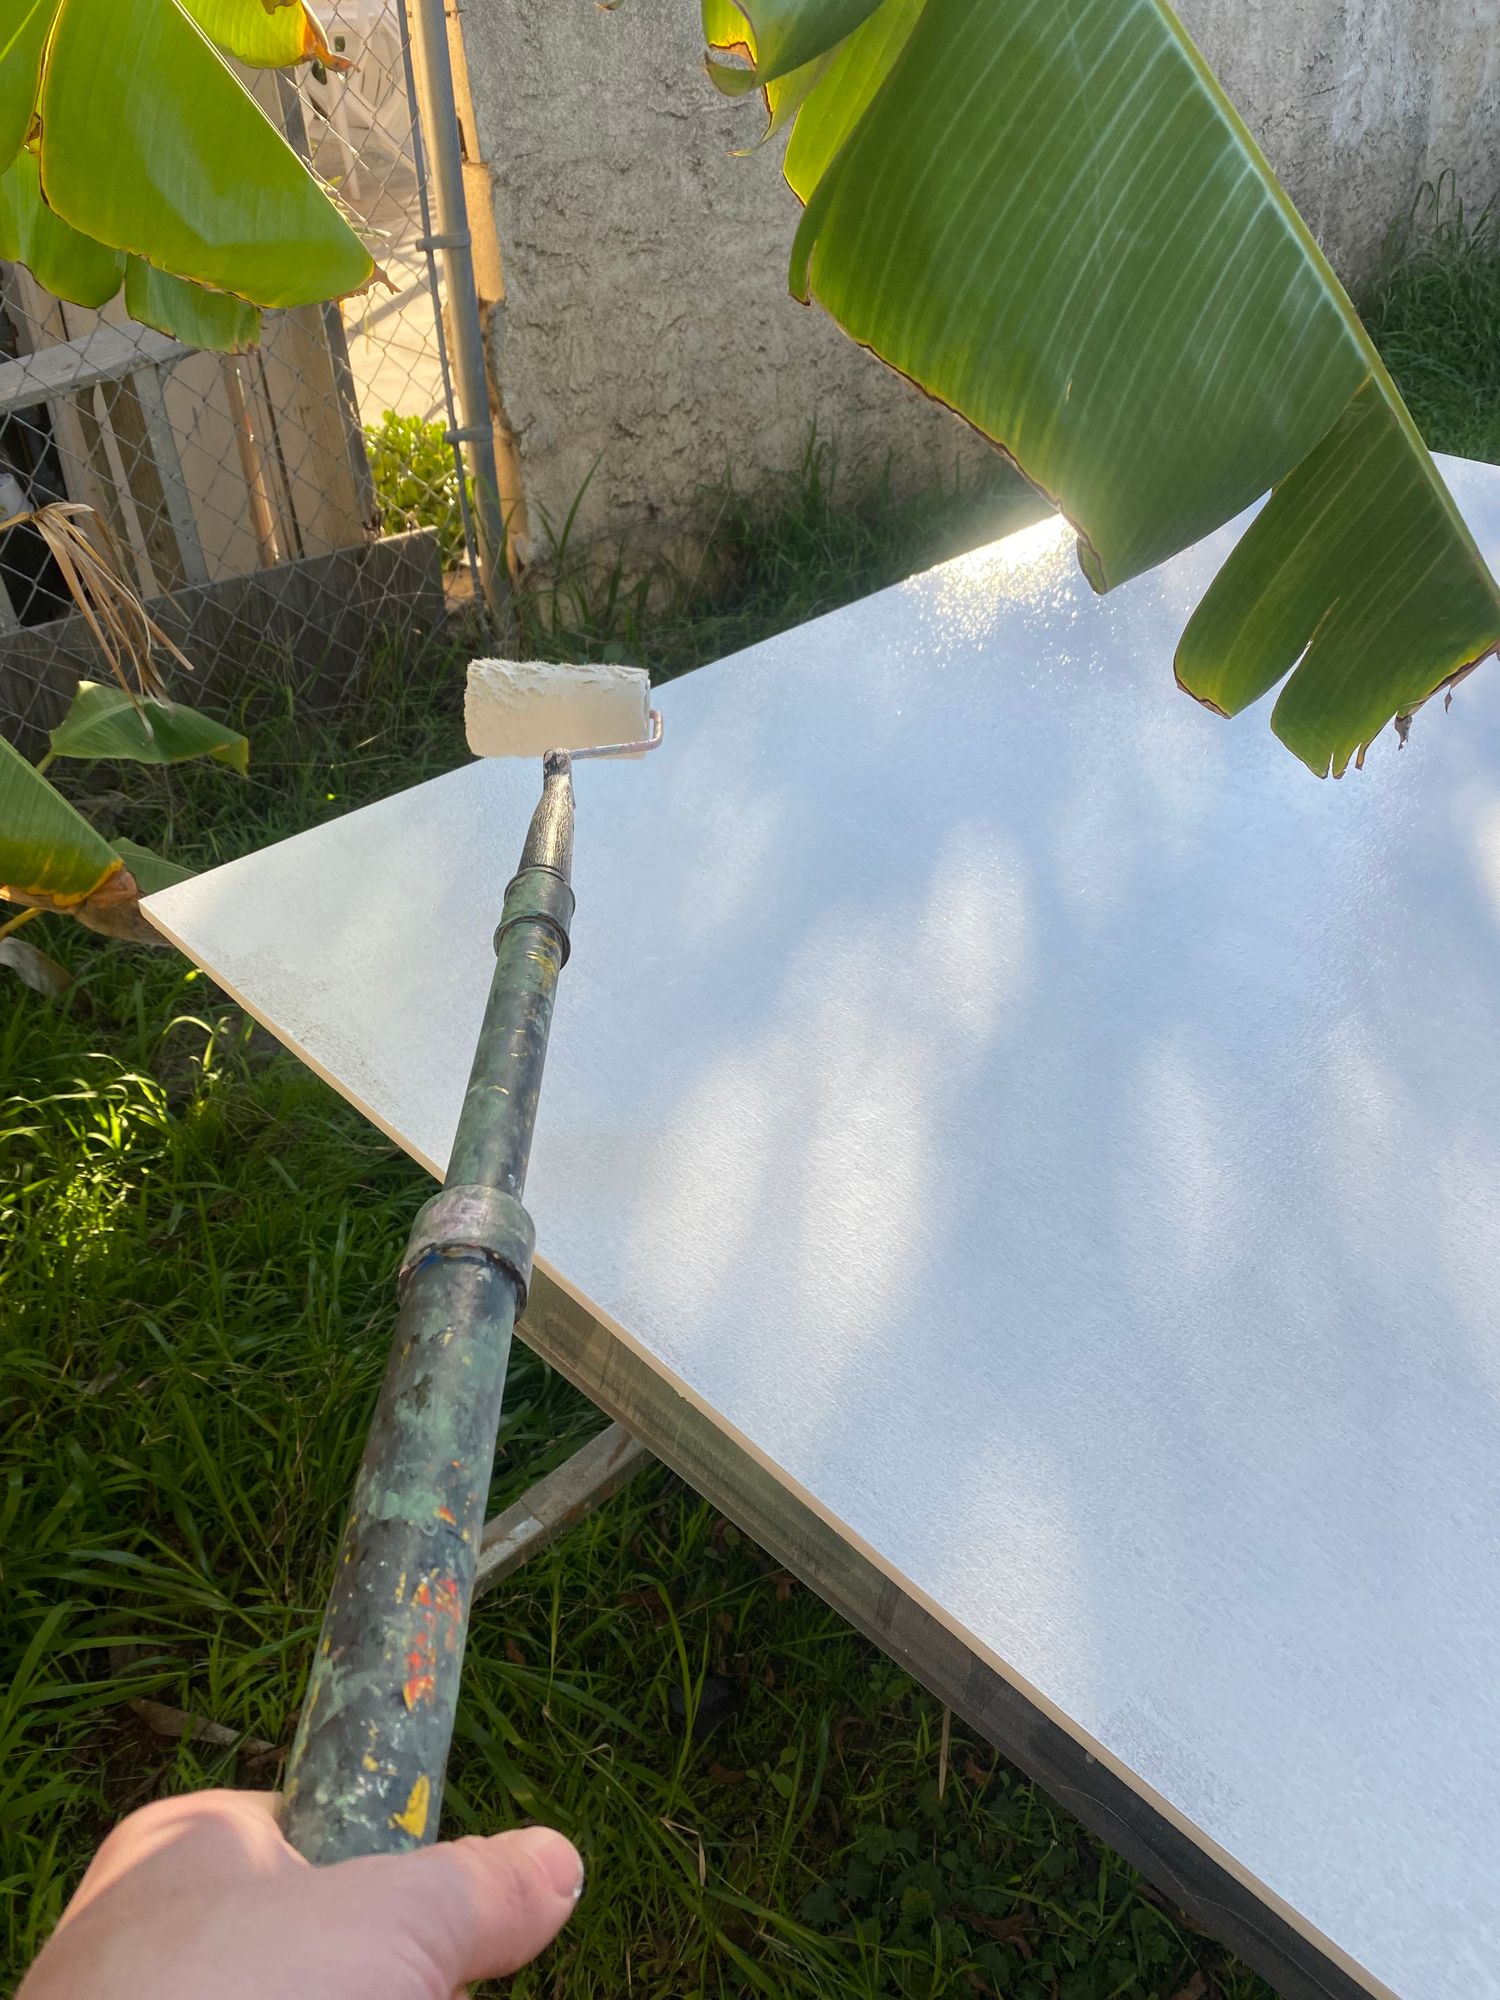
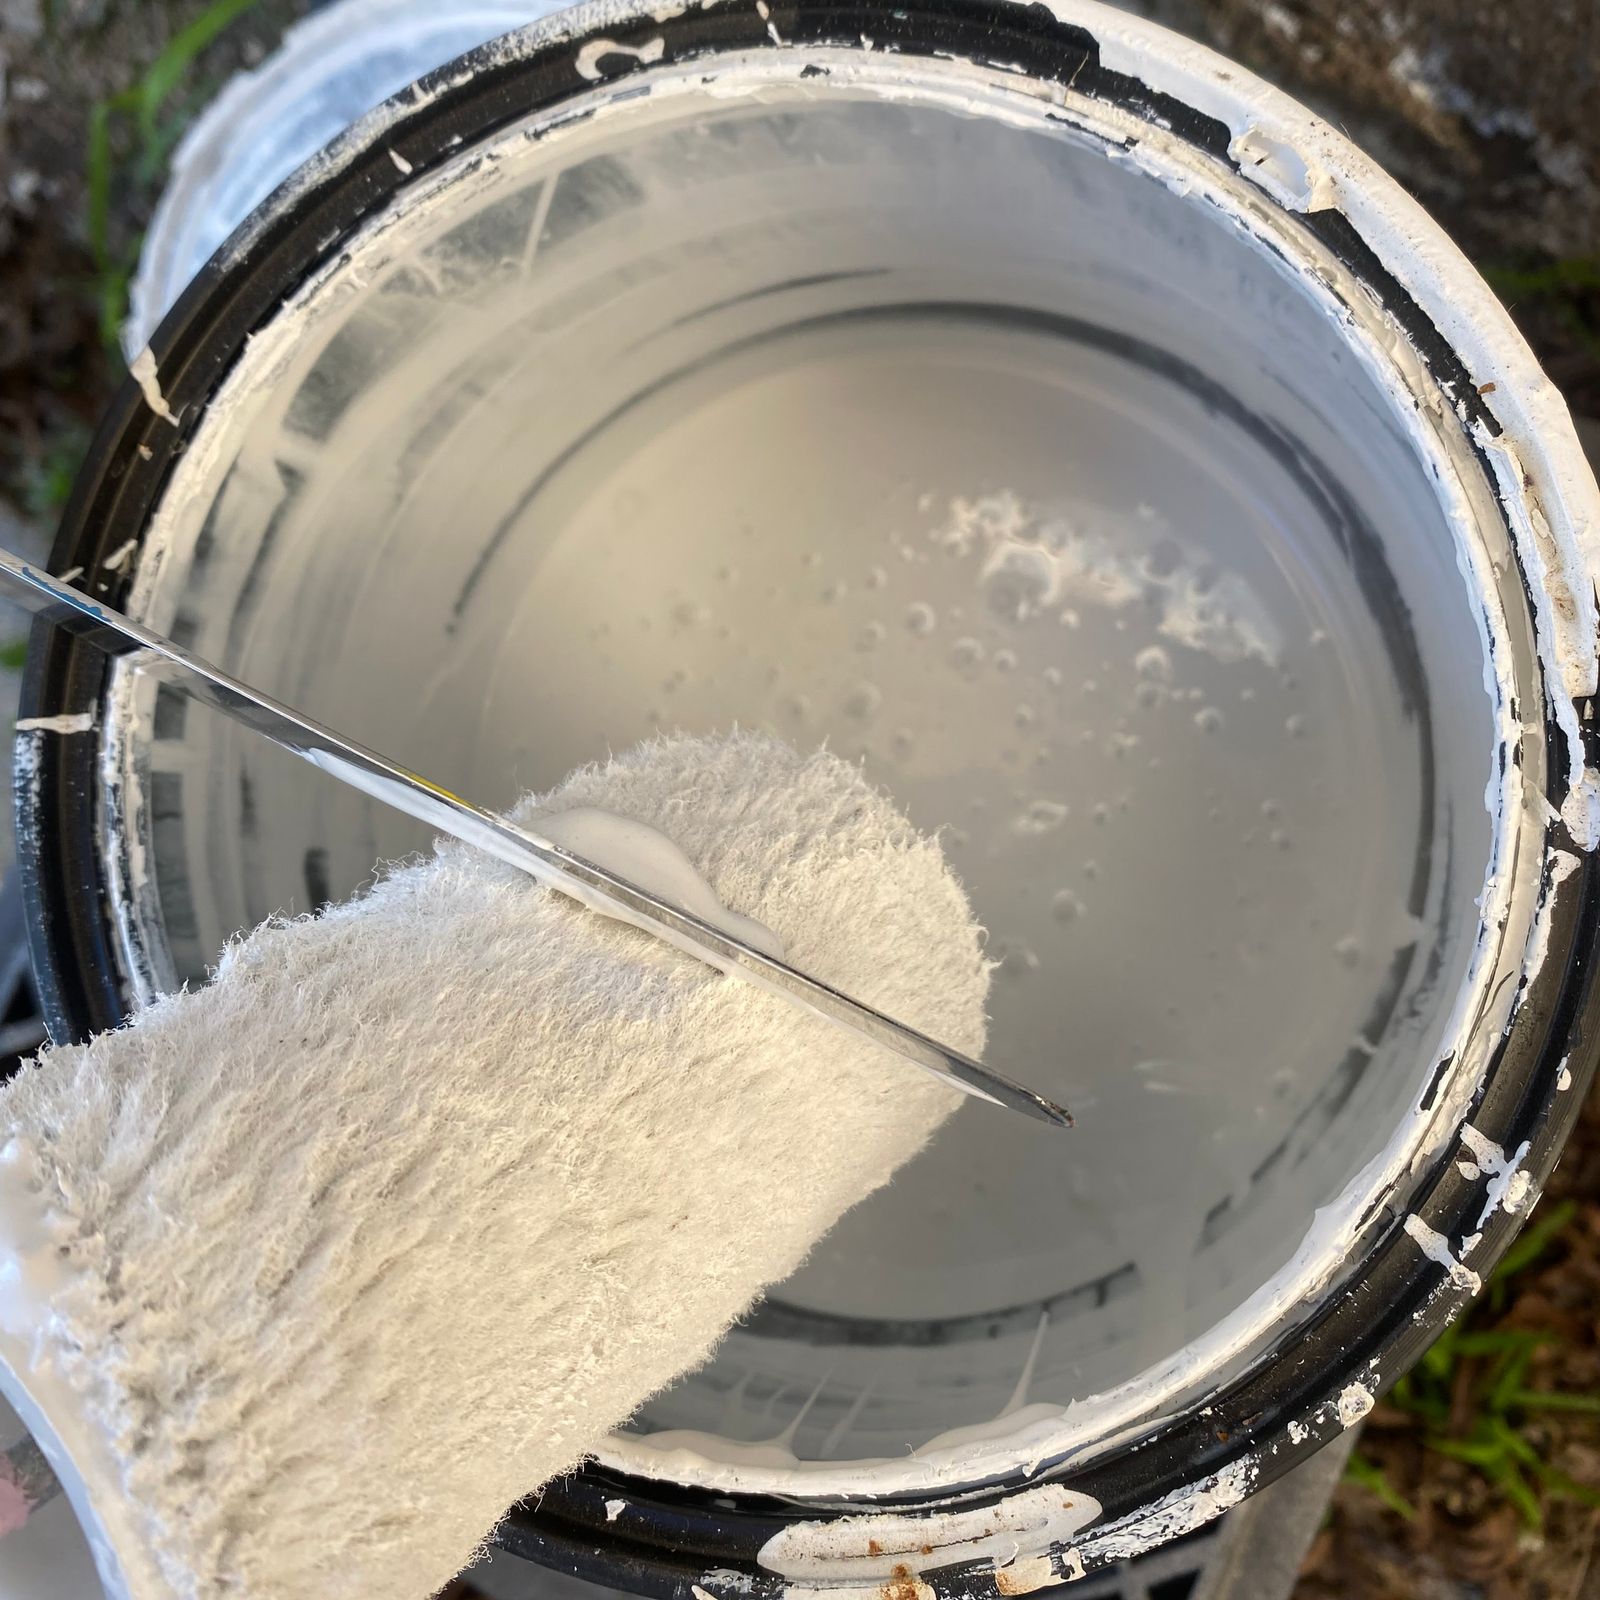
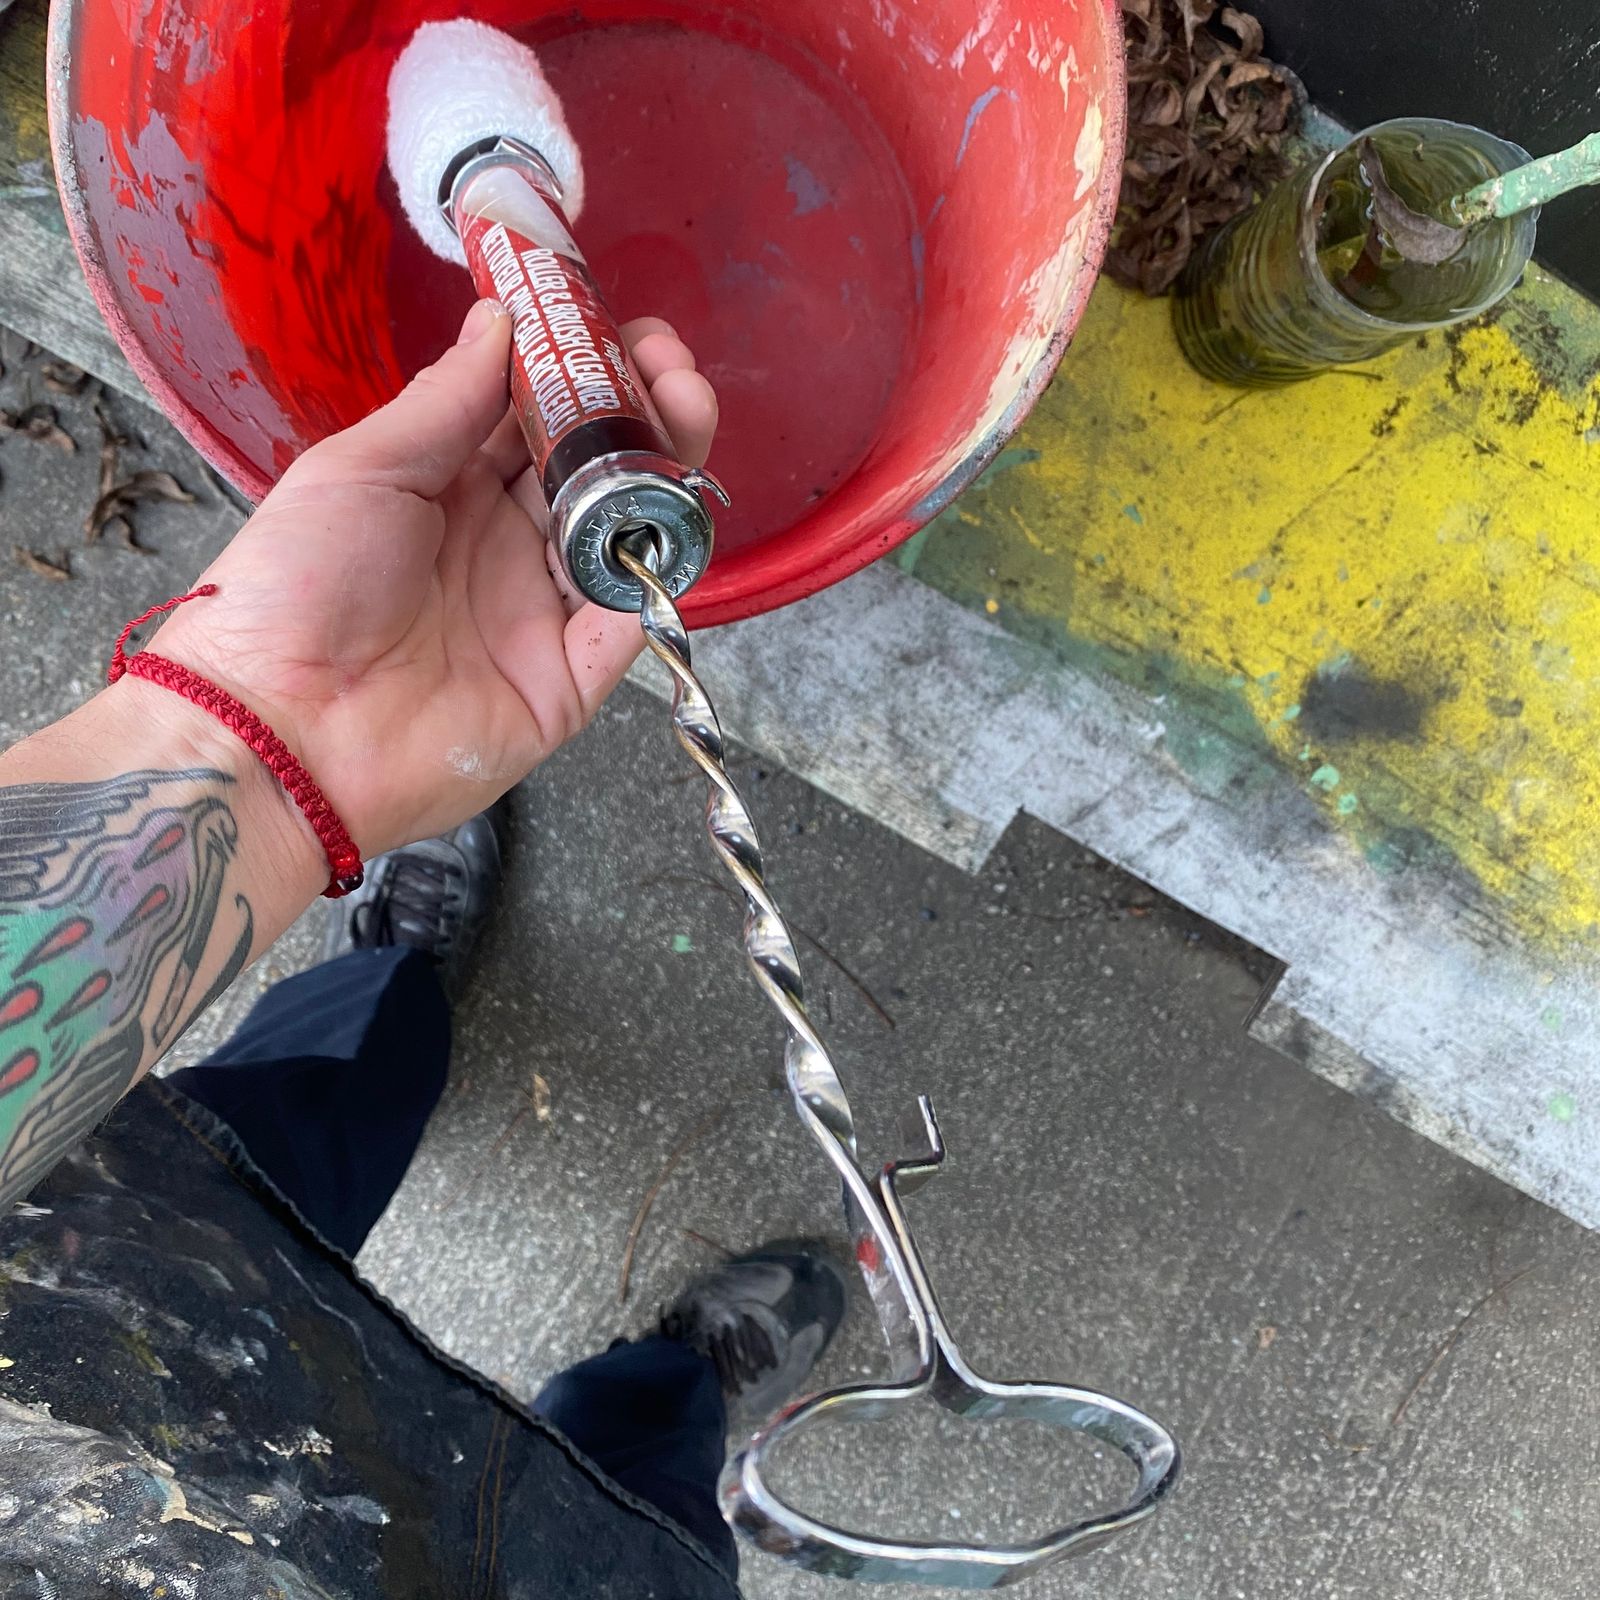
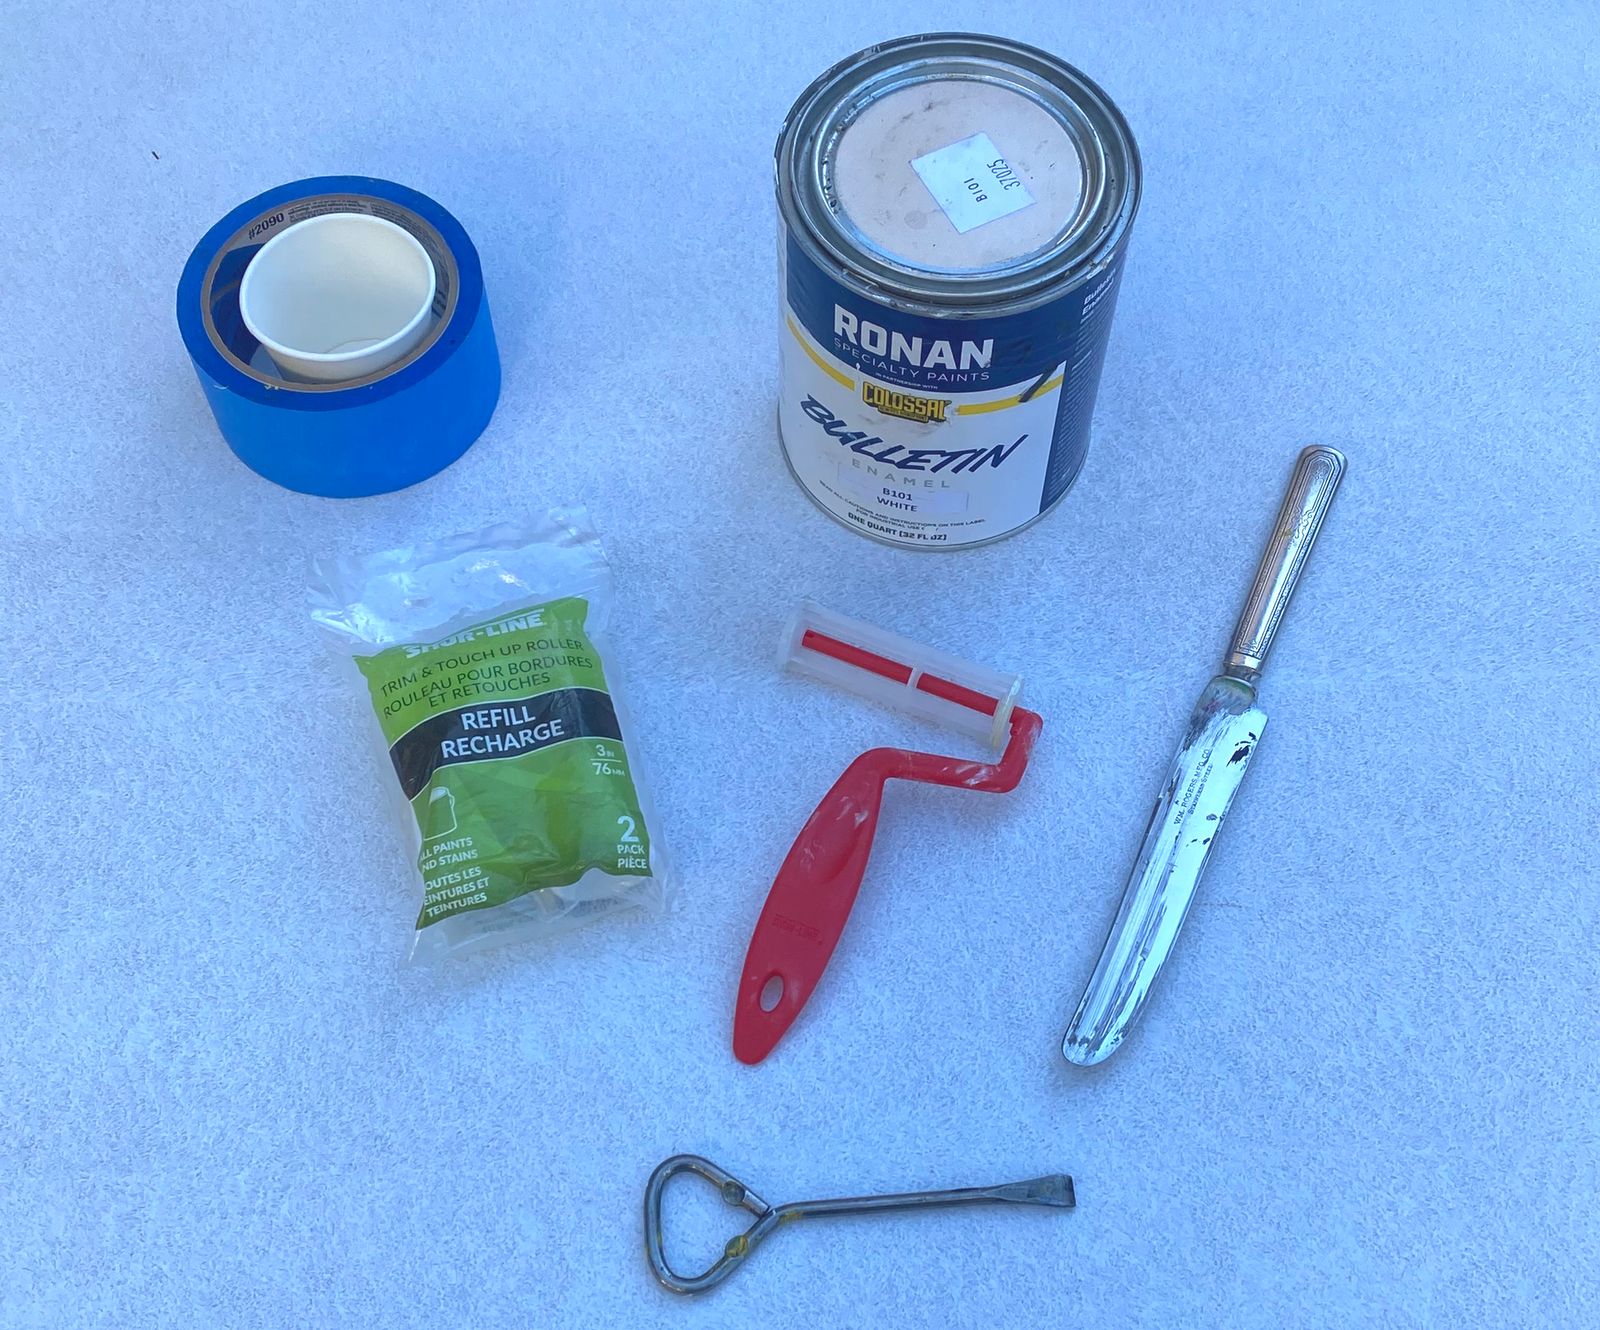
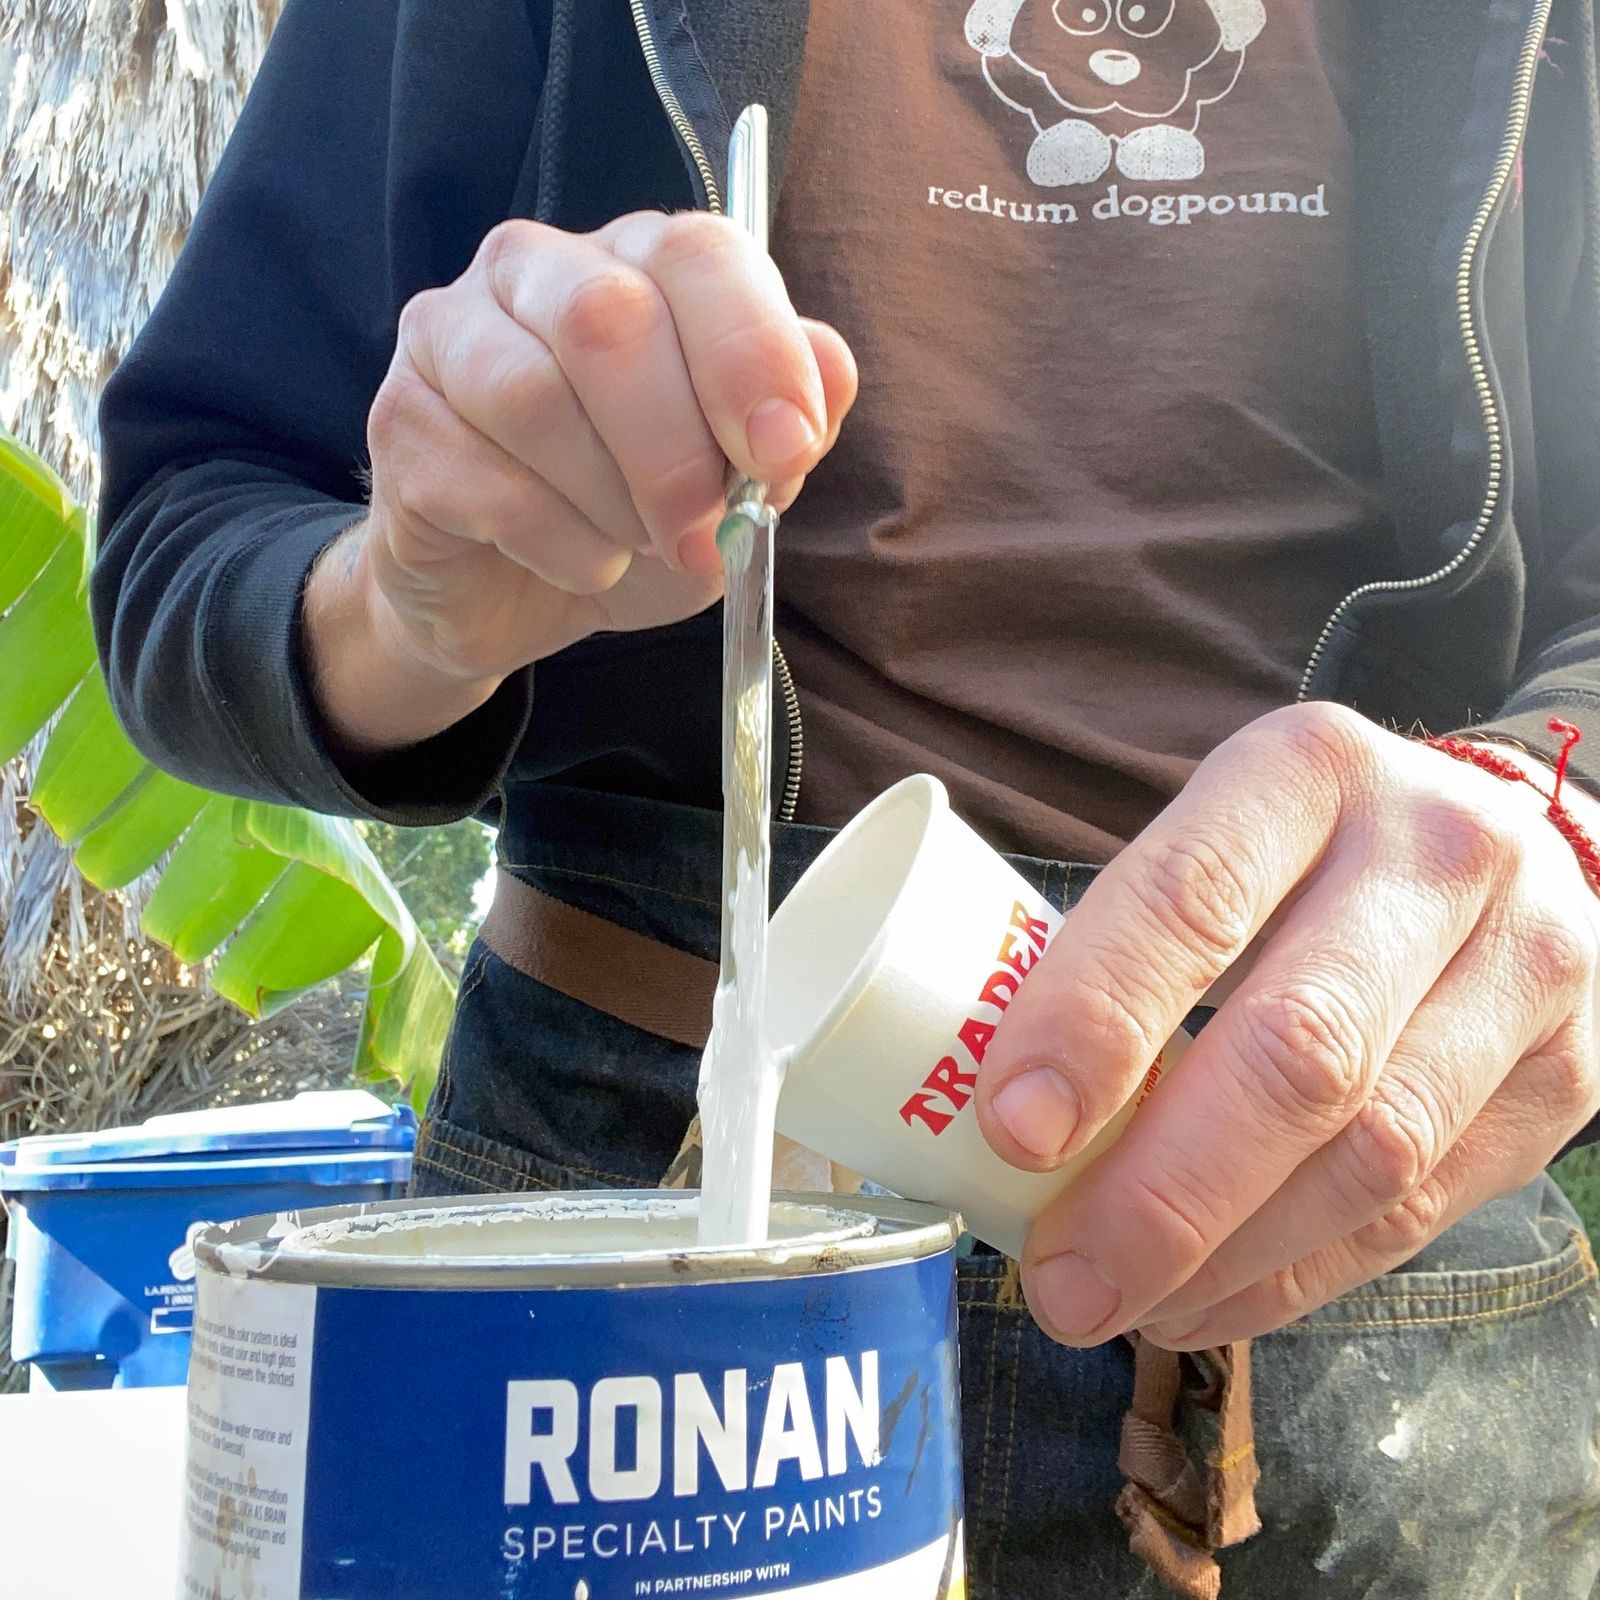
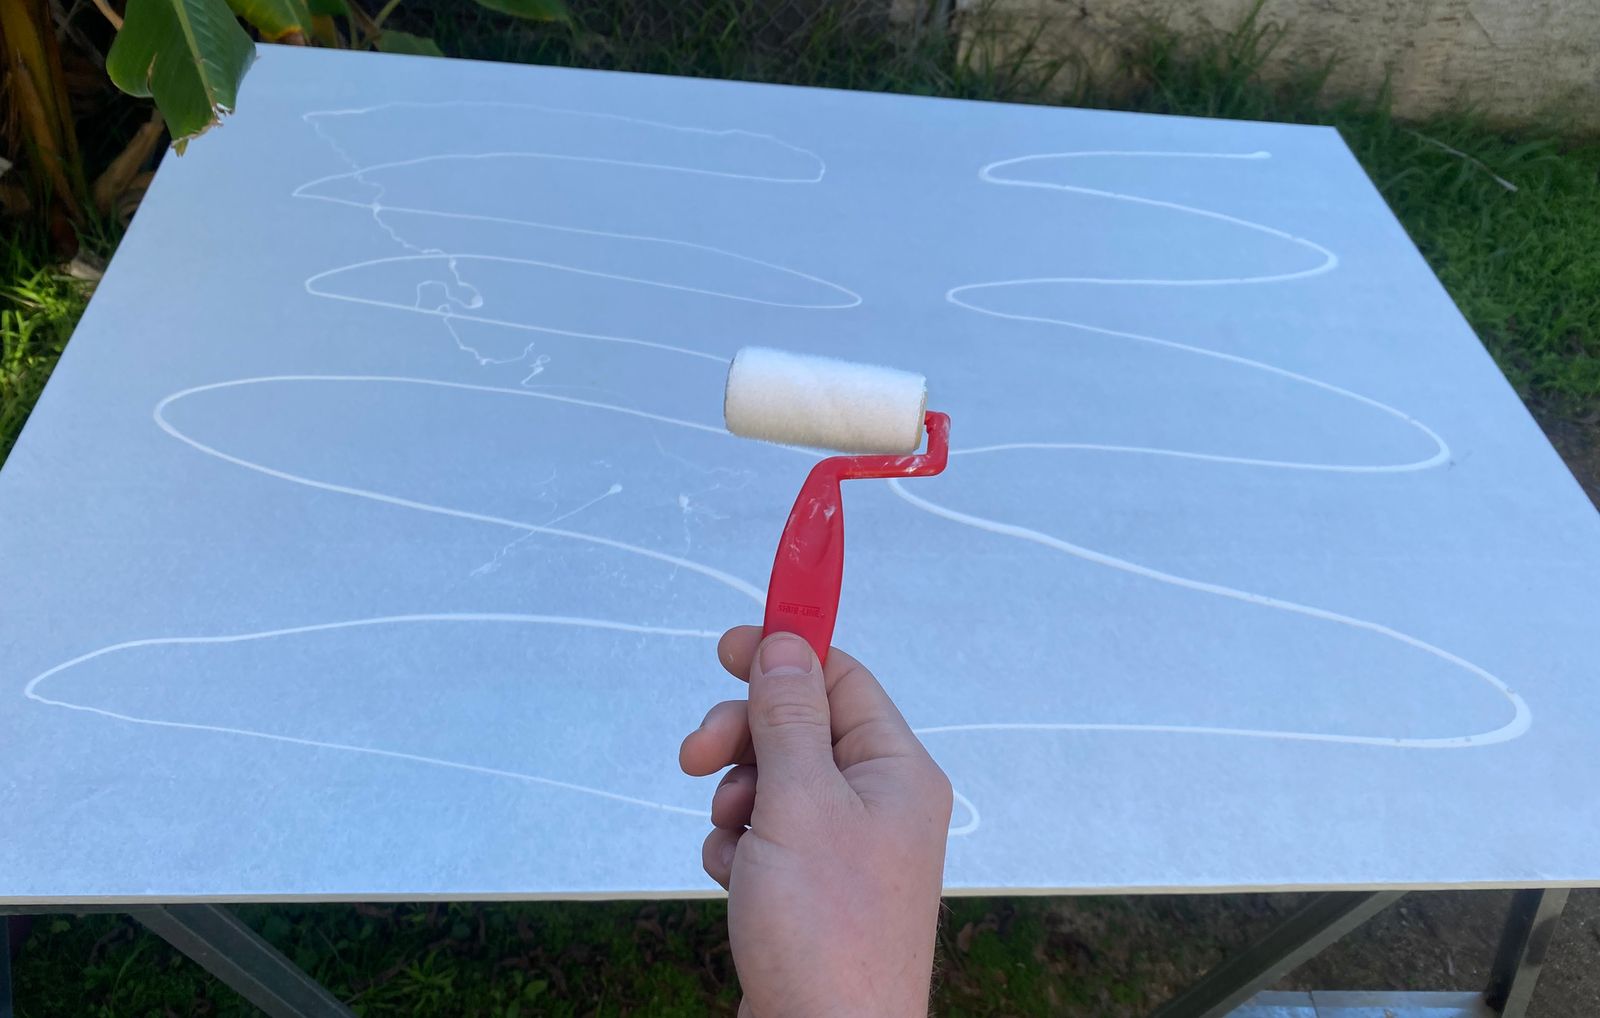
How to Prepare MDO Plywood for Sign Painting
|


Older messages
The Sky's the Limit: A Chat with Right Way Signs
Tuesday, June 20, 2023
Recording of Right Way Signs' BLAG Chat about their niche of massive hand-painted roof signs. BLAG (Better Letters Magazine) BLAG (Better Letters Magazine) The iconic Morton Salt roof sign, the
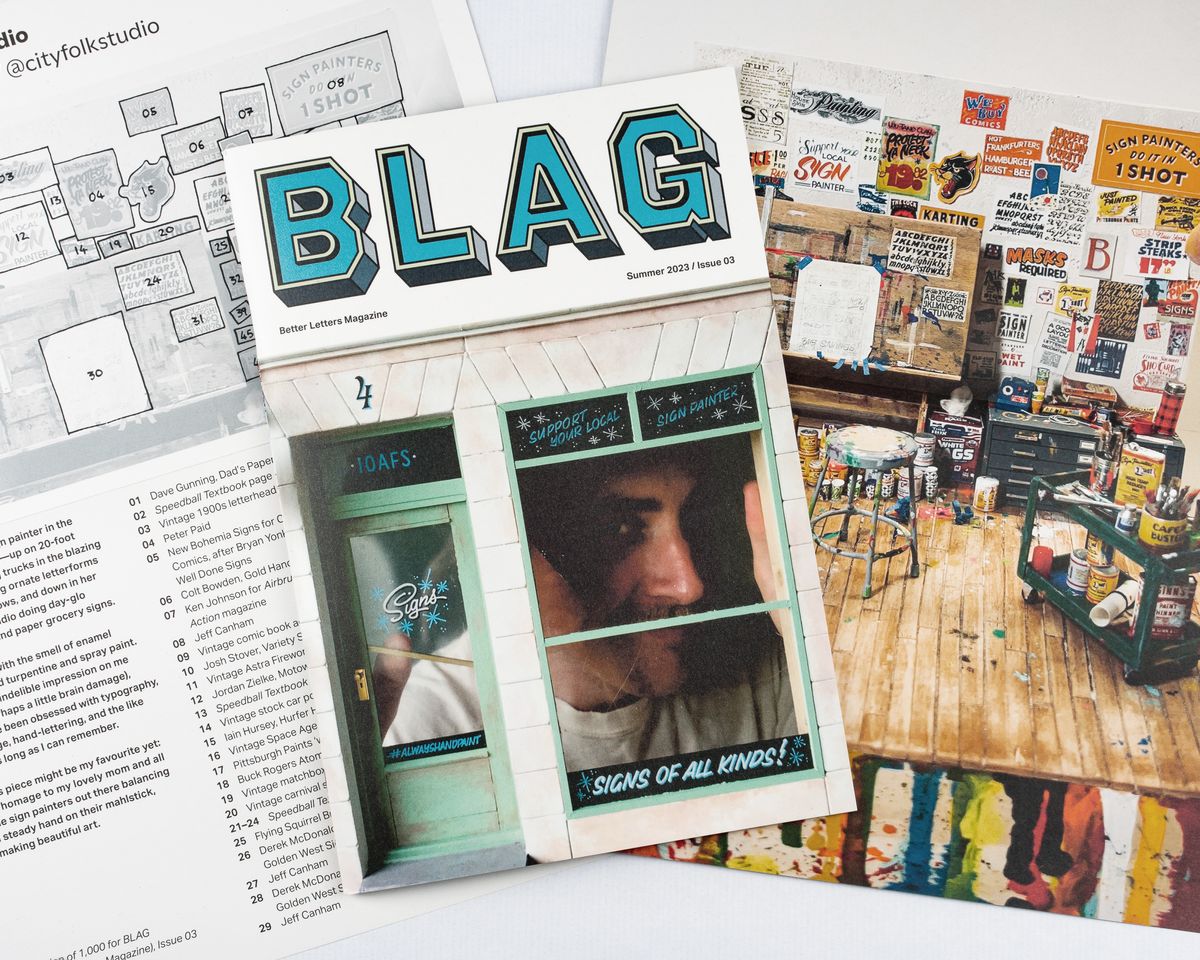
What's Inside Issue 03 of BLAG (Better Letters Magazine)?
Tuesday, June 13, 2023
Between the covers of the adventures in sign painting in Issue 03 of BLAG (Better Letters Magazine). BLAG (Better Letters Magazine) BLAG (Better Letters Magazine) BLAG 03 comes with a limited edition
Where Can I Learn the Craft of Sign Painting?
Monday, June 12, 2023
Overview of workshops, courses, apprenticeships, and places to learn the craft of sign painting. BLAG (Better Letters Magazine) BLAG (Better Letters Magazine) Learning the basics of sign painting at a
Signs of the Seaside: Coastal Lettering and Typography
Thursday, June 1, 2023
Original artefacts and contemporary work explore the typographic vernacular of the English seaside. BLAG (Better Letters Magazine) BLAG (Better Letters Magazine) A hand-painted sign by Dr Amy Goodwin
Straddling the Globe: Letterheads at Dingles and Down Under
Thursday, May 25, 2023
Sign painters gather for Letterheads meets in Sydney and at Dingles Fairground Heritage Museum. BLAG (Better Letters Magazine) BLAG (Better Letters Magazine) Jorge Jacobs at Dingles Letterheads. Photo:
You Might Also Like
Kendall Jenner's Sheer Oscars After-Party Gown Stole The Night
Tuesday, March 4, 2025
A perfect risqué fashion moment. The Zoe Report Daily The Zoe Report 3.3.2025 Now that award show season has come to an end, it's time to look back at the red carpet trends, especially from last
The FDA Just Issued a Recall on a Supplement — Because it Contains an ED Drug
Monday, March 3, 2025
View in Browser Men's Health SHOP MVP EXCLUSIVES SUBSCRIBE The FDA Just Issued a Recall on a Supplement — Because It Contains an ED Drug The FDA Just Issued a Recall on a Supplement — Because It
10 Ways You're Damaging Your House Without Realizing It
Monday, March 3, 2025
Lenovo Is Showing off Quirky Laptop Prototypes. Don't cause trouble for yourself. Not displaying correctly? View this newsletter online. TODAY'S FEATURED STORY 10 Ways You're Damaging Your
There Is Only One Aimee Lou Wood
Monday, March 3, 2025
Today in style, self, culture, and power. The Cut March 3, 2025 ENCOUNTER There Is Only One Aimee Lou Wood A Sex Education fan favorite, she's now breaking into Hollywood on The White Lotus. Get
Kylie's Bedazzled Bra, Doja Cat's Diamond Naked Dress, & Other Oscars Looks
Monday, March 3, 2025
Plus, meet the women choosing petty revenge, your daily horoscope, and more. Mar. 3, 2025 Bustle Daily Rise Above? These Proudly Petty Women Would Rather Fight Back PAYBACK Rise Above? These Proudly
The World’s 50 Best Restaurants is launching a new list
Monday, March 3, 2025
A gunman opened fire into an NYC bar
Solidarity Or Generational Theft?
Monday, March 3, 2025
How should housing folks think about helping seniors stay in their communities? ͏ ͏ ͏ ͏ ͏ ͏ ͏ ͏ ͏ ͏ ͏ ͏ ͏ ͏ ͏ ͏ ͏ ͏ ͏ ͏ ͏ ͏ ͏ ͏ ͏ ͏ ͏ ͏ ͏ ͏ ͏ ͏ ͏ ͏ ͏ ͏ ͏ ͏ ͏ ͏ ͏ ͏ ͏ ͏ ͏ ͏ ͏ ͏ ͏ ͏ ͏ ͏ ͏ ͏ ͏ ͏ ͏ ͏ ͏ ͏ ͏
The Banality of Elon Musk
Monday, March 3, 2025
Or, the world we get when we reward thoughtlessness ͏ ͏ ͏ ͏ ͏ ͏ ͏ ͏ ͏ ͏ ͏ ͏ ͏ ͏ ͏ ͏ ͏ ͏ ͏ ͏ ͏ ͏ ͏ ͏ ͏ ͏ ͏ ͏ ͏ ͏ ͏ ͏ ͏ ͏ ͏ ͏ ͏ ͏ ͏ ͏ ͏ ͏ ͏ ͏ ͏ ͏ ͏ ͏ ͏ ͏ ͏ ͏ ͏ ͏ ͏ ͏ ͏ ͏ ͏ ͏ ͏ ͏ ͏ ͏ ͏ ͏ ͏ ͏ ͏ ͏ ͏ ͏ ͏ ͏ ͏
“In life I’m no longer capable of love,” by Diane Seuss
Monday, March 3, 2025
of that old feeling of being / in love, such a rusty / feeling, ͏ ͏ ͏ ͏ ͏ ͏ ͏ ͏ ͏ ͏ ͏ ͏ ͏ ͏ ͏ ͏ ͏ ͏ ͏ ͏ ͏ ͏ ͏ ͏ ͏ ͏ ͏ ͏ ͏ ͏ ͏ ͏ ͏ ͏ ͏
Your dishwasher isn’t a magician
Monday, March 3, 2025
— Check out what we Skimm'd for you today March 3, 2025 Subscribe Read in browser Together with brad's deals But first: 10 Amazon Prime benefits you may not know about Update location or View